Sunday afternoon. While I'm watching a cycling race, I thought myself why don't you put something together. So I digged up this little kit and did it. I made a step by step, so you all can follow how it was build. I warn you it's not an easy kit, and as the box said "ages 6 & up", I'm pleased I could build it in 20 minutes, included taking pictures (yes I'm blond).
Historical background of this aircraft can be found here (Wiki page)
Now let's start:
 |
| The box. |
 |
| What's in it. |
 |
| Tools needed. |
 |
| Instructions on the back of the box. Look in the right corner, 6 years! I did in 20 minutes! |
 |
| Parts step 1. |
 |
| Parts step 1 put together. |
 |
| Parts step 2. |
 |
| Parts step 2 put together. |
 |
| Parts step 3. |
 |
| Parts step 3 put together. |
 |
| Parts step 4. |
 |
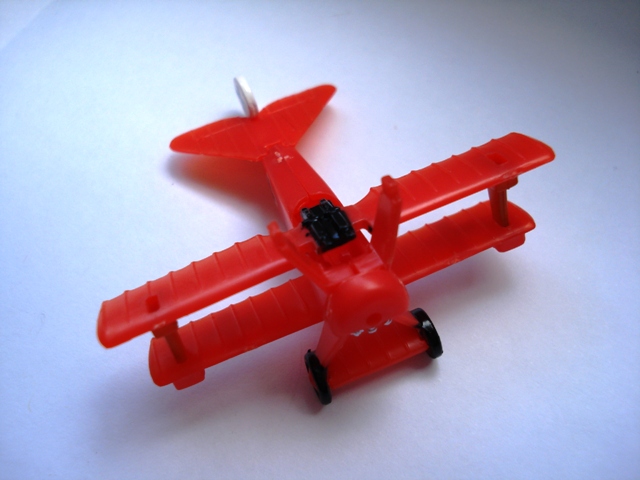
| Parts step 4 put together. And finished! |


Nice and easy. This is just a fun kit wich I like a lot. And it only cost 2.5 Euro.
Hope you like it to!

